Painting your home’s interior is one of the easiest and most affordable ways to refresh your space. Whether you’re adding a new color to your bedroom, brightening up your living room, or giving your entire home a makeover, a well-done paint job can completely transform the atmosphere.
Here’s a simple, professional guide to help you understand how interior painting should be done — the right way.
1. Plan Your Project
Before opening a paint can, take time to plan.
● Choose the right color:
Consider lighting, room size, and existing décor. Lighter colors make rooms feel larger; darker tones add drama and depth.
● Select the proper finish:
- Flat/Matte – great for ceilings and low-traffic areas
- Eggshell – the most common for living rooms and bedrooms
- Satin – durable and slightly shiny, ideal for hallways
- Semi-Gloss / Gloss – perfect for trim, doors, and kitchens
● Calculate how much paint you need:
One gallon covers about 300–400 sq ft in most cases.
2. Prep the Room
Preparation determines the quality of the final result.
● Clear the space: Move furniture or cover it with drop cloths.
● Clean the walls: Dust, dirt, and grease prevent paint from sticking.
● Repair imperfections:
Fill holes, sand rough spots, and fix cracks.
● Protect surfaces:
Tape off baseboards, windows, and trim for sharp lines.
Proper prep ensures a smooth, professional appearance.
3. Prime the Walls
Primer creates a clean, even base for your paint.
You should always prime when:
- Painting over dark colors
- Painting raw drywall
- Covering stains
- Switching between different paint types
Primer improves adhesion and helps your color look richer and more consistent.
4. Start With the Edges (Cut-In)
Professional painters always “cut in” before rolling.
Use a high-quality angled brush to paint:
- Corners
- Around windows and doors
- Along baseboards and ceilings
This creates clean borders and prevents roller marks.
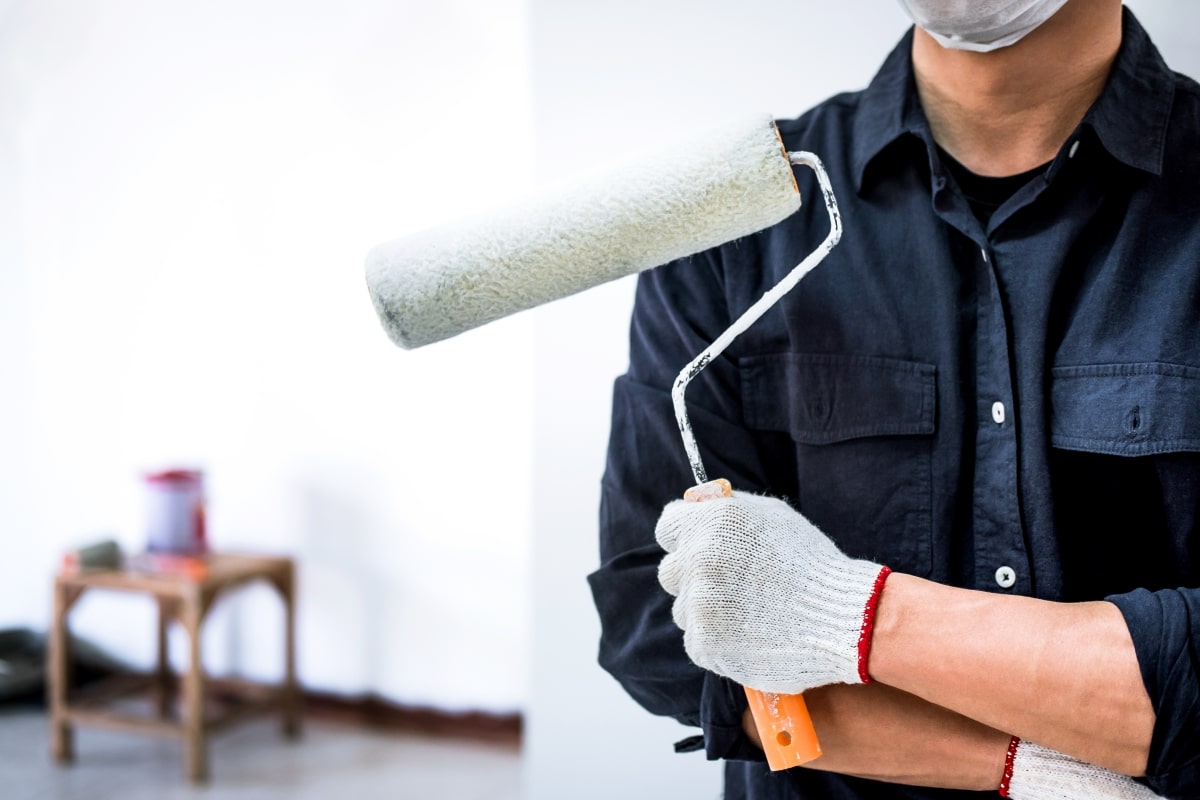
5. Roll the Paint Properly
Load your roller evenly and apply paint in a “W” pattern for the smoothest finish.
Tips for best results:
- Work in small sections
- Maintain consistent pressure
- Don’t over-roll — this causes streaks
- Apply 2 coats for a flawless look
Let each coat dry completely before applying the next.
6. Paint the Trim and Doors
Trim, baseboards, and doors should be painted last using semi-gloss or gloss paint.
Why? These areas need more durability and are easier to clean.
Use painter’s tape for perfect, crisp edges.
7. Clean Up and Inspect
Once the paint dries:
- Remove tape carefully
- Touch up any small imperfections
- Reinstall outlets, switch plates, and fixtures
- Move furniture back
- Enjoy your fresh, updated space!
Final Thoughts
Painting your interior can instantly elevate your home, but the details matter. From proper prep to choosing the right finish, each step makes a noticeable difference in the final result.
If you want flawless, long-lasting results without the hassle, ColorCrafters offers professional interior and exterior painting services tailored to your home and style.
Need help with your next project? We’re just a call away.